Using the Convert for Media plug-in in NGINX
The next generation of image file formats, such as WebP and AVIF, are being developed in secret, and when converting to WebP or AVIF in WordPress, NGINX requires additional settings. In this case, we will use Convert for Media. When I used other plug-ins, there was a limit to the number of images that could be converted, which led me to Convert for Media.

Why should you WebP?
This is because next-generation image formats are very lightweight and faster to access. A file of several hundred KB will turn into a file of several dozen KB, and the response time will be faster. Because of the expected increase in storage capacity efficiency and faster access speeds, I actively use next-generation image formats.
Add Convert for Media
Search for and install the Convert for Media plugin from WordPress, and activate the plugin.
Once activated, the Convert for Media field will be added to the media tag, which can be set by clicking here.
NGINX Settings
NGINX requires additional configuration. Configure the following settings in your NGINX configuration file, such as /etc/nginx/conf.d/default.conf.
# BEGIN Converter for Media
set $ext_avif ".avif";
if ($http_accept !~* "image/avif") {
    set $ext_avif "";
}

set $ext_webp ".webp";
if ($http_accept !~* "image/webp") {
    set $ext_webp "";
}

location ~ /wp-content/(?<path>.+).(?<ext>jpe?g|png|gif|webp)$ {
    add_header Vary Accept;
    expires 365d;
    try_files
        /wp-content/uploads-webpc/$path.$ext$ext_avif
        /wp-content/uploads-webpc/$path.$ext$ext_webp
        $uri =404;
}
# END Converter for Media
Restart NGINX, activate the settings, and you are done.
systemctl restart nginxRun Convert for Media
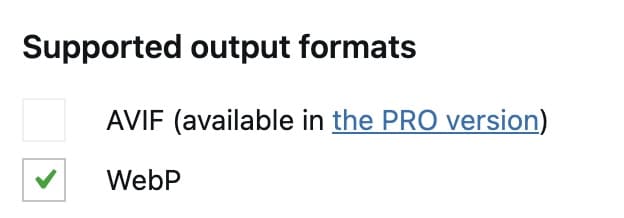
Check the default settings.
WebP is checked.
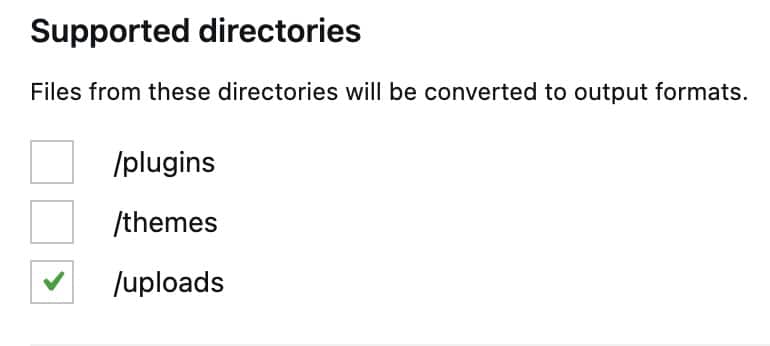
Make sure uploads is selected. This is the folder where the images are uploaded.

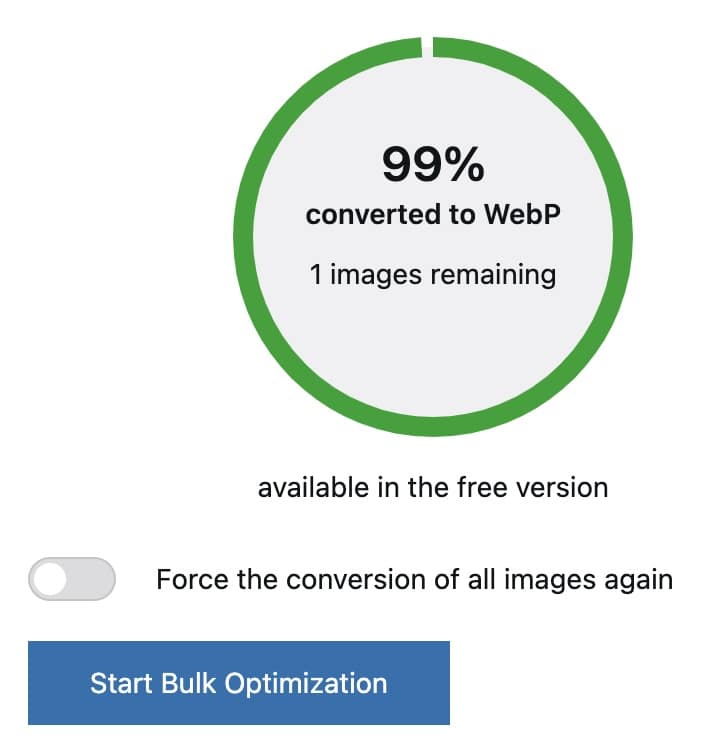
Click on Start Bulk Optimization to run it, and the conversion to WebP images will run. There is no limit on the number of images.
If you fail…
The default settings do not delete the original file; you can restore it by deleting the settings in NGINX and restarting.
If you make a mistake, do not be in a hurry to correct it.
Perhaps the NGINX path is different, so if you rewrite it to the correct path and run it, it will work.
Conclusion
We have shown you how to convert to WebP using Convert for Media in NGINX. Please try this method as it is expected to reduce the image size and speed up the response time.
Follow us on Twitter if you like.