Instagram Auto Post with Chrome Extension
I will show you how to auto post on Instagram for free. Basically, Instagram does not allow automatic posting, so we will introduce how to automatically schedule a scheduled post. If you can schedule posts automatically, you can say that you can actually post automatically. This method goes as far as automating reposting. Since RPA is used, it is possible to periodically repeat the automatic reservation of drafts created in advance in order to stabilize the operation. In the case of reposting, it is fully automatic, and if you want to make a new post, you will be able to efficiently schedule posts just by modifying the reserved ones.
How to Auto Post on Instagram
The way to automatically post on Instagram is to automate scheduled posts with RPA. Specifically, I use Statusbrew to schedule posts. For free, the maximum number of reserved posts is 10, and reposts must be manually registered. Automation is performed with the Chrome extension UI Vision RPA, and automatic booking is performed by periodically executing the operation with the Chrome extension crontab. After booking, you can modify the content of the post by editing, or you can post the draft as it is.
We also introduce how to auto-like and auto-follow, so please read it if you like.Chrome extension that automatically follows and likes InstagramIntroducing the Instagram automatic follow / automatic like function that can be used in Chrome! Easily increase your followers and likes … https://algo-ai.work/blog/2023/01/14/auto-instagram/

Advance preparation
Instagram or Facebook must be a professional or business account. Also, it is necessary to link Instagram and Facebook in advance.
Switch Instagram to a professional account.
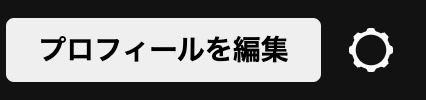
Click Edit Profile.
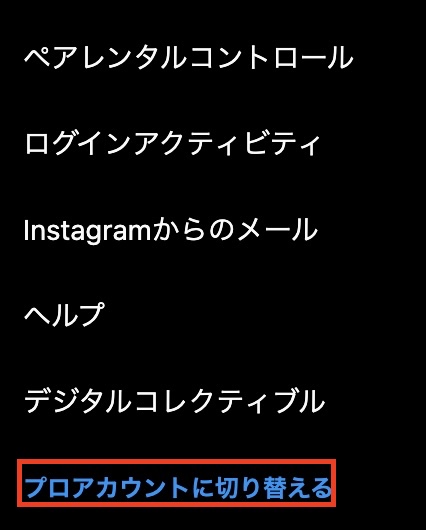
Click Switch to Pro Account to switch your account to a Pro Account.
Also, link Instagram and Facebook, and configure settings to allow linking from Instagram to Facebook and settings to allow linking from Facebook to Instagram.
From Facebook, there is an item called Instagram in the settings, and you can link it by clicking “Link Account".
From Instagram, you can link with Facebook by clicking “Login" from the item “Linked accounts" in the settings.
In addition, Facebook also requires a business account, so click Create from the “Page" item to create a page. If you do not create a page, it will be flipped when linking with Statusbrew.
Statusbrew
Statusbrew unifies content marketing management for social media, risk management measures, engagement management including comment monitoring, optimizes internal approval workflows, and enables high-performance analysis. In the free version, you can schedule posts, define categories, define plans, etc. In addition, you can easily post one post to multiple SNS such as Twitter, Facebook, and Instagram. This time, I will use it for the purpose of posting on Instagram.

Introducing Statusbrew
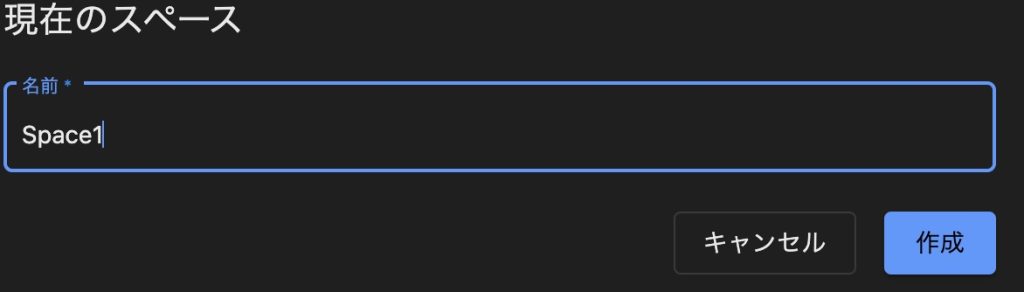
Create a user and log in to create a space. Enter any name and click “Create".
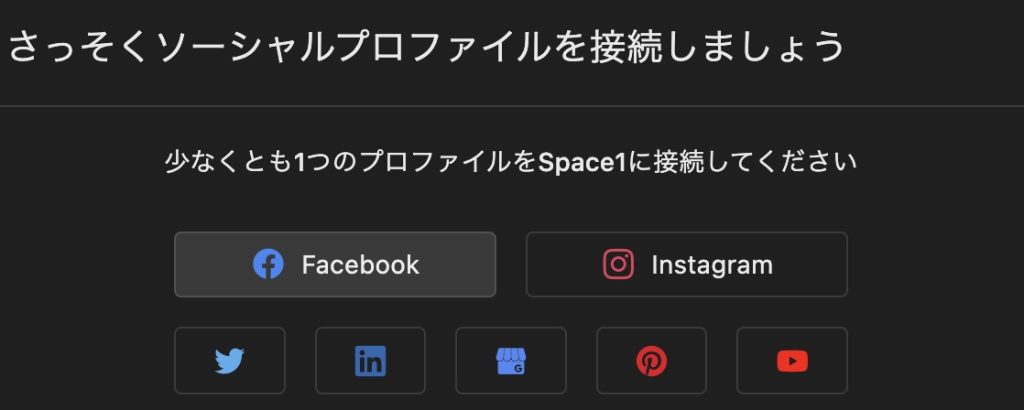
You can connect social profiles by creating a space and selecting the created space.
Click Instagram.
I clicked on “Login via Facebook".

Allow Statusbrew from the app and website in your Instagram settings.

It will be a success if we can cooperate safely.
How to use Statusbrew
I thought Statusbrew would take some getting used to.
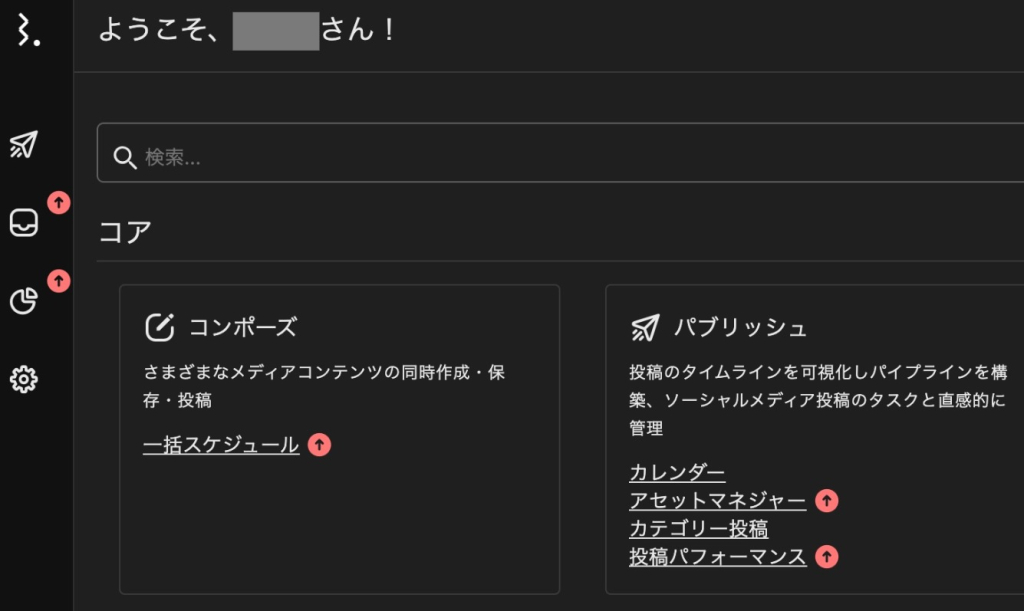
You can access the top page by logging in and pressing the logo on the top left. In the free version, you can set calendar and category posts.
You can schedule posts on the calendar, and you can set a schedule pattern to use on the calendar for category posts. If you use this category post well, you can efficiently set up reservations.
Category post
For category posts, you can assign a category name and create a reservation pattern.
For example, if you set it as follows, it is a pattern that can be set so that the same post can be made at 6:45 in the morning on Monday, Wednesday, and Friday. It can be patterned and, if used well, can be efficient.
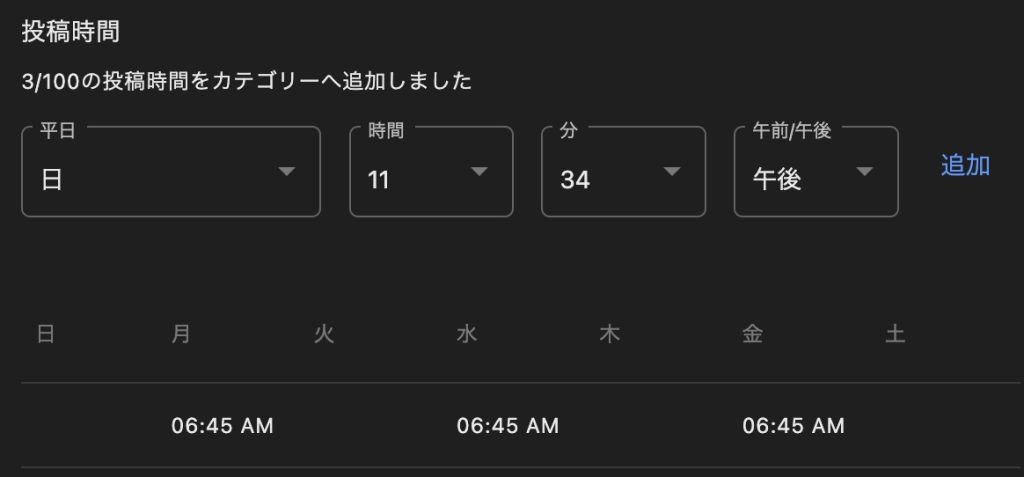
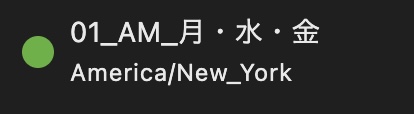
It is convenient when making a reservation if you use a name that is easy to understand.
Post draft
Create drafts instead of direct bookings for automation. I’m ready to duplicate the draft and schedule it.
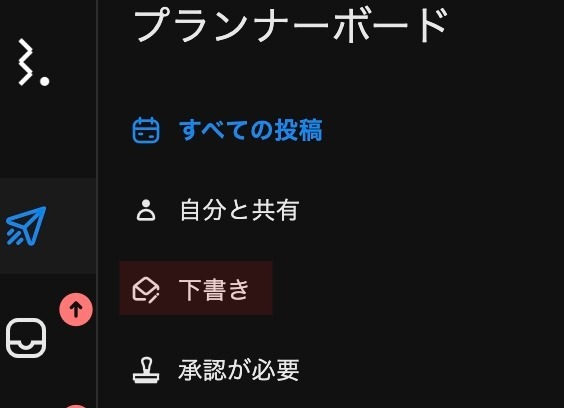
Click the paper plane icon on the left and select Drafts.
Click Create Post.
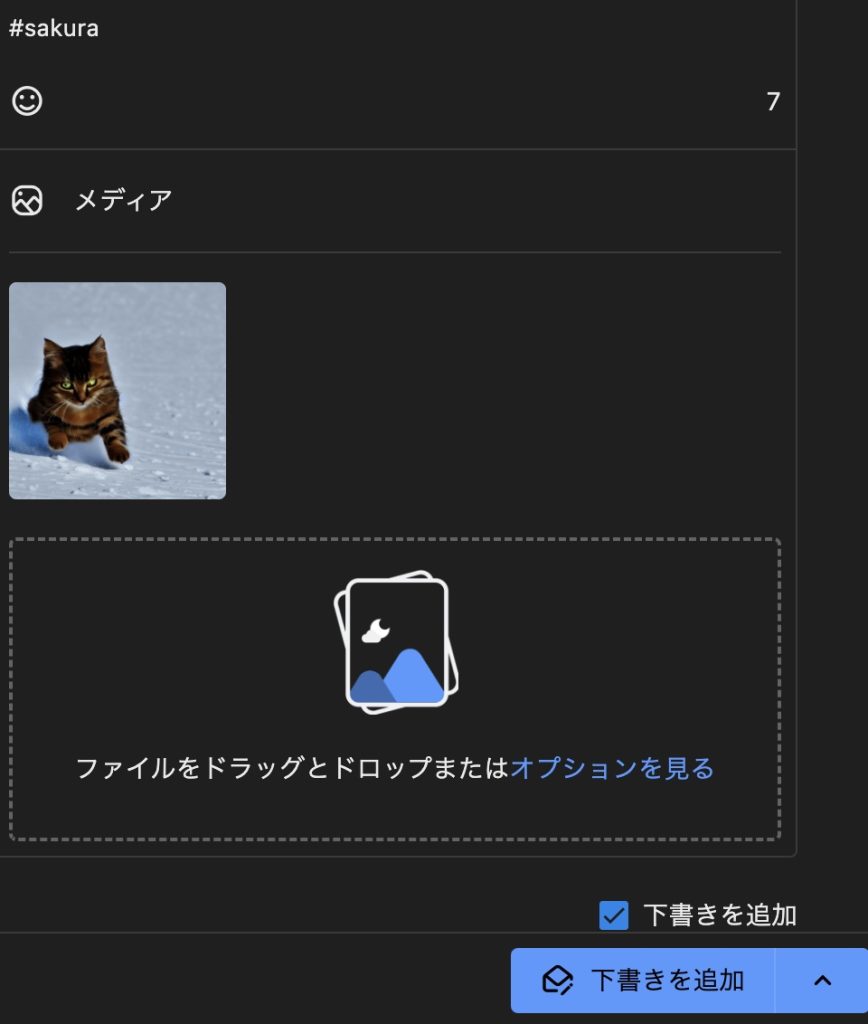
Enter your social profile, text, and upload the photos you want to subscribe to on Instagram. Since it is a regular reservation, you can replace the photo after making a reservation. Check “Add Draft".
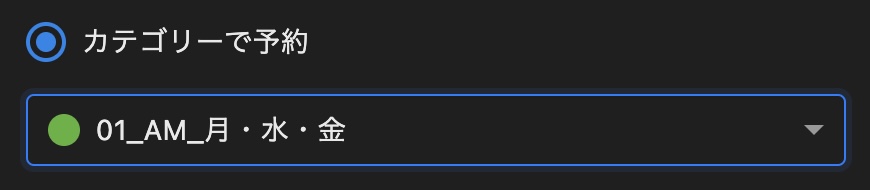
In Category Reserve, select the category you created. It’s nice because you can make a pattern reservation instead of the date and time.
Click the Add Draft button to create a draft.
In preparation, you will create multiple drafts of this. Up to 10 items can be reserved at once in the free version. With the method introduced in this article, you can make a free and flexible fully automatic reservation by creating a category for each month to day. I’m going to be so detailed, so I tried to create it all together for the time being. I thought that it would be enough to make an automatic reservation about twice a week.
Install Chrome extension
For automation, we use the Chrome extension UI Vision RPA and crontab. It is an RPA tool that can automate Chrome operations and a tool that can be regularly executed with pre-scheduled content.UI.Vision RPA – Chrome Web StoreUniversal AI-powered task and UI test automation. RPA combines Visual Web Automation, Visual Des… https://chrome.google.com/webstore/detail/uivision-rpa/gcbal…cronTab-Chrome Web StoreOpen the specified URL periodically. https://chrome.google.com/webstore/detail/crontab/dfhpfenoca…
Scheduled execution with Chrome extension
Duplicate drafts in UI Vision RPA for automatic booking.
Open UI Vision RPA and click the “+Macro" button to create a new macro.
Click the “Record" button to let Statusbrew automate and record Chrome activity.
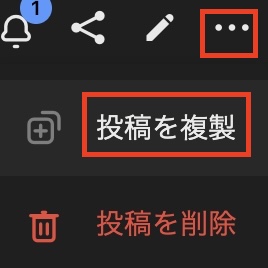
Specifically, on the draft screen, click the draft you created, click “…", and select “Duplicate Post".
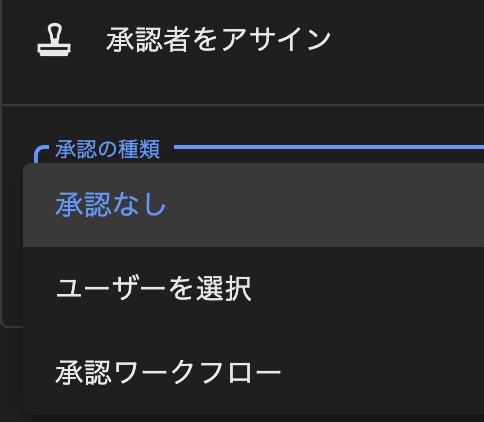
When the screen changes, perform the operations up to posting and have RPA remember it. Uncheck “Add Draft", select “No Approval" in the “Assign Approver" item, and click “Reserve Post" to complete. It won’t be posted right away, so press Scheduled Post to test it. When done, press the UI Vision RPA’s “Stop" button to end the Record.
I was able to record the operation with UI Vision RPA. Run “Play Macro" to see if it works. I have a macro that can repost if it works properly.
Convert macro to HTML
UI Vision RPA can be downloaded in HTML format.
Right-click the macro you created and select Create autorun HTML.
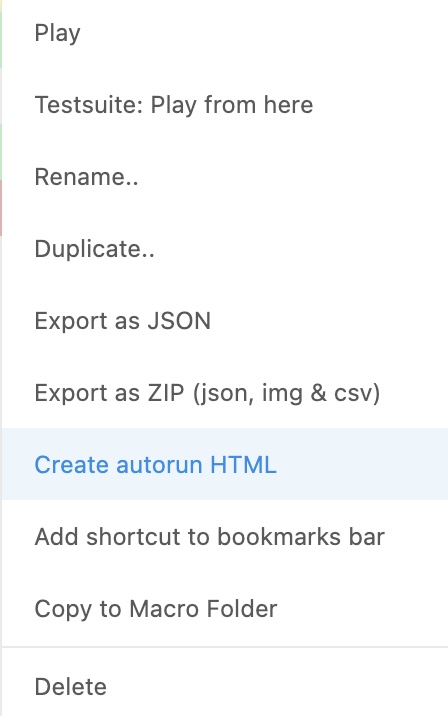
You can download the html file by selecting it. From now on, you can run the recorded macro simply by opening this HTML file.
Periodic execution
Regular execution is executed with crontab of chrome extension. Up to this point, just by opening the HTML file, you can duplicate the draft and schedule posting.
Open Chrome’s crontab and schedule it for regular execution.
Use the URL displayed in chrome when executing the html downloaded with the RPA tool. Add “?direct=1" and set it. In the following case, we are scheduling to directly open the RPA html at 00:00 on Sunday. The option is set to open directly with “?direct=1". It doesn’t work without settings. Caution is required.
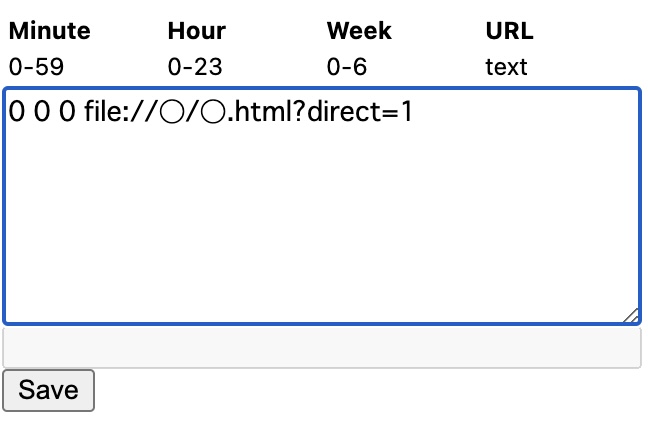
With this, you can regularly schedule posts on Mondays, Wednesdays, and Fridays at 00:00 every Sunday. Since the categories were grouped together, the schedule was rough, but if you set it in detail, you can automate the reposting of different images every day. By creating RPA, it may be possible to replace images.
Conclusion
I introduced how to automatically post by making an automatic reservation on Instagram for free. Auto-posting on Instagram is considered bad, but I don’t think there’s a problem with auto-booking. I think it would be a good idea to make an automatic reservation, basically change the image if you have time, and automatically repost the image that was viewed most often in the past when you don’t have time. .
Please follow me on Twitter if you don’t mind .